Windows 11 Home Edition to Enable BitLocker Full-Disk Encryption by Default: How to Disable
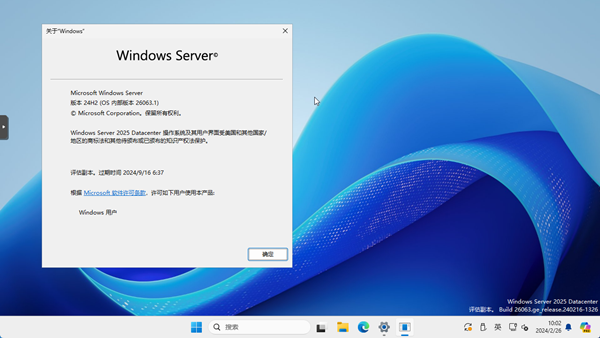
Microsoft is making a significant change to the default encryption settings in Windows 11, with the upcoming 24H2 update expected to bring full-disk encryption to not only the Pro edition but also the Home edition. Starting with Build 25905, released in July 2023, Microsoft adjusted the prerequisites for enabling device encryption, paving the way for automatic device encryption during fresh installations of Windows 11.
Initially, this feature was limited to the Windows 11 Pro edition, but with the official release of 24H2 in October, it is anticipated that Home edition systems will also adopt device encryption by default.
Performance Impact of Encryption:
While enabling full-disk encryption is a commendable security measure, it may not be necessary for most users and comes with a performance cost. Microsoft's default encryption method, BitLocker with the XTS-AES 128 algorithm, results in noticeable performance degradation even on solid-state drives due to the computational overhead of encryption and decryption.
How to Disable Default Device Encryption During Windows 11 Installation:
Method 1: During the OOBE (Out-of-Box Experience) setup, press Shift+F10 to open a command prompt. Type "regedit" to launch the Registry Editor, and navigate to the following path:
HKEY_LOCAL_MACHINE\SYSTEM\CurrentControlSet\BitLocker
Here, create a new DWORD 32-bit value named "PreventDeviceEncryption" and change its value from 0 to 1.
Method 2: If you're using Rufus to create a bootable USB installer, Rufus provides an option to disable BitLocker. Simply check the corresponding box during the USB creation process, and BitLocker will be automatically disabled during installation.
Method 3: For supported devices that have already undergone BitLocker encryption during the installation process, go to Settings > Security & Privacy. Here, you'll find an option to manage device encryption.


![[Tutorial] Western Digital SN580/SN770 Installation of Windows 11 24H2 Leads to Blue Screen Crashes: Here's How to Fix It](https://img.lancdn.co/news/2024/06/3700T.png)


